


The product we used:

Waste Not, Want Not

Back in June, I wrote a guide for making plum liqueur using the Toyo-Sasaki Glass Soda-Lime Glass Fruit Liqueur Bottle.
In it, I promised a taste test, and it's time to deliver the results. The liqueur tastes good, very fruity, although a bit sweet. I'll be honest, I'm not much of a drinker, so you'll need to use your imagination to think of ways of balancing out the sweetness of the liqueur. However, besides being overly sweet, it was nice.
In the previous guide it calls for a considerable amount of plums (a kilogram of the little buggers), so after drinking all the liqueur, it would be a shame for those plums to go to waste. You can eat them as-is, of course, but what if I told you that with a little bit of effort, you can turn those plums into a delicious jam fit for your breakfast toast? Interested? Then keep reading.
Ingredients


- 500g of plums (plums from umeshu)
- 100g of sugar
- 20cc lemon juice
Instructions
1. Boil Plums

Place the plums in a pot with enough water to cover them and bring it to a boil for 1-2 minutes.
2. Drain then boil again

Drain the plums in a colander and discard the water. Then, put the plums back in the pot with fresh water and simmer until they soften, for about 15 minutes or so. The longer you boil, the easier the next step will be.
3. Remove Pits


Remove the pits from the plums. You can use a spoon or crush them by hand after they cool down. This is the most cumbersome part. If you find the pits difficult to remove, you can try boiling the plums for a bit longer.
(Optional) Strain
If you prefer to have a smoother jam, now is a good time to strain the plums. It's a bit more work, so you'll need to decide if it's worth it.
4. Add sugar and lemon juice then simmer


Add sugar and lemon juice to the plums in the pot. Simmer over low heat until it thickens. Once it's well-cooked, your jam is ready. You can adjust the thickness and sweetness to your liking. Keep in mind that it will become firmer as it cools, so it's better to make it slightly looser than you want.
5. Store

Store your jam in a jar that has been sterilized with boiling water to keep it preserved longer.
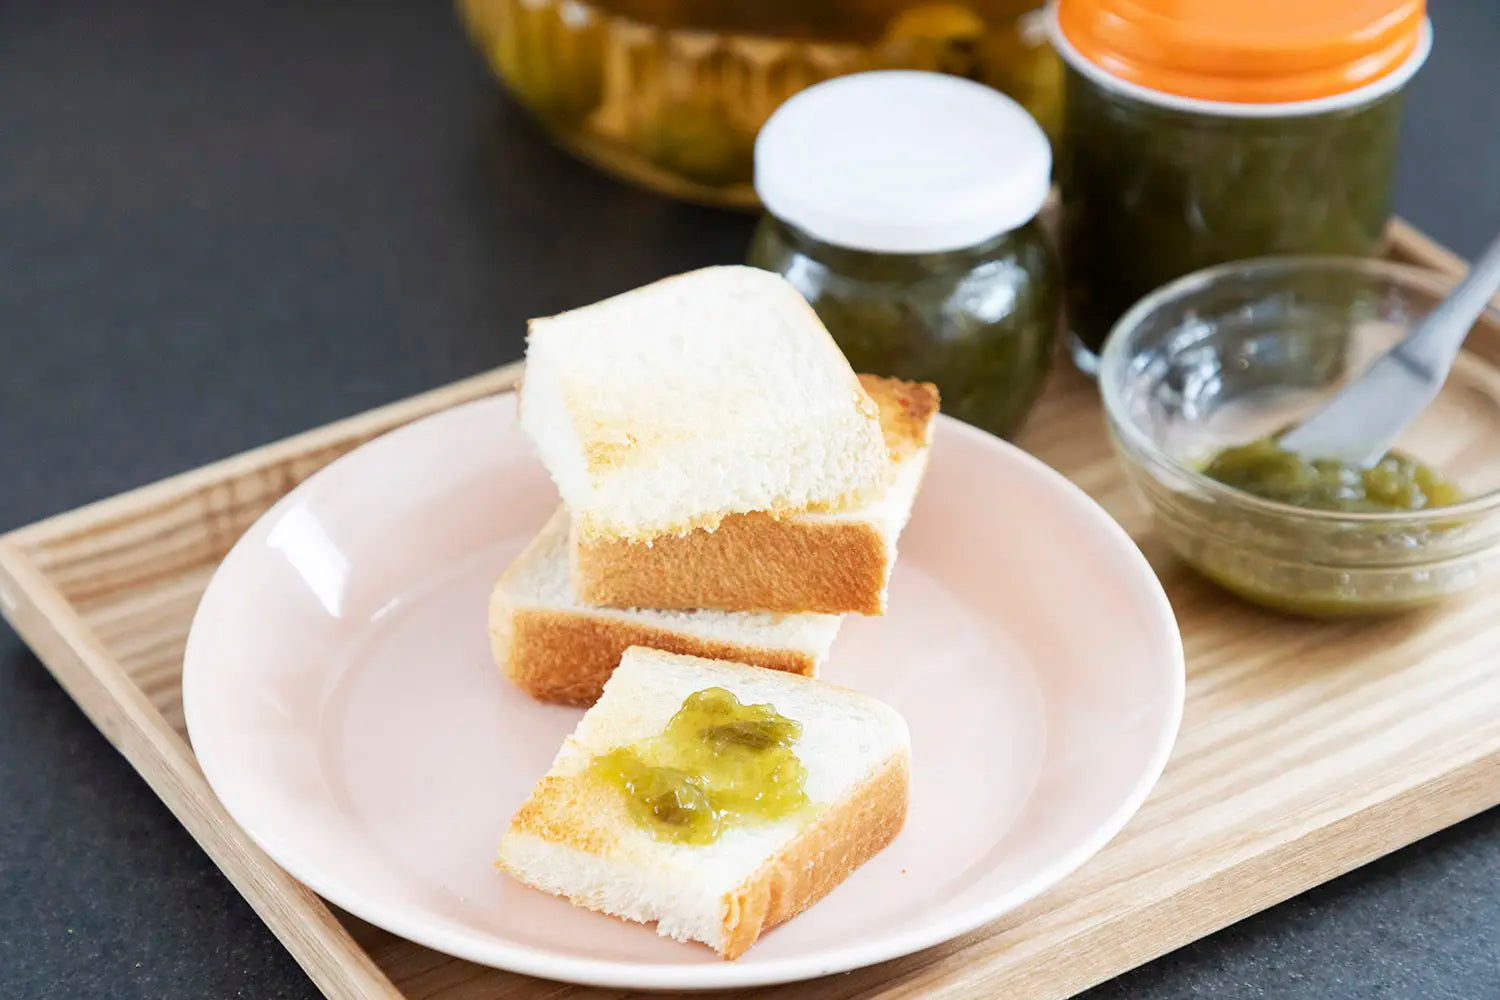
6. Eat!

Congratulations, you now have a delicious plum jam to use any way you wish! We tried it on toast and it tasted very good. My wife didn't want the jam to be too sweet, and she likes sour food, so she used less sugar and more lemon juice for this recipe. Feel free to customize your jam to your tastes.
And remember, you can make fruit liqueurs with more than just plums. Cherries, berries, peaches, pineapples, and citrus fruits can be used to make liqueur, too. I'm not sure if you can make jams from all of them, but it's certainly fun to think about!


